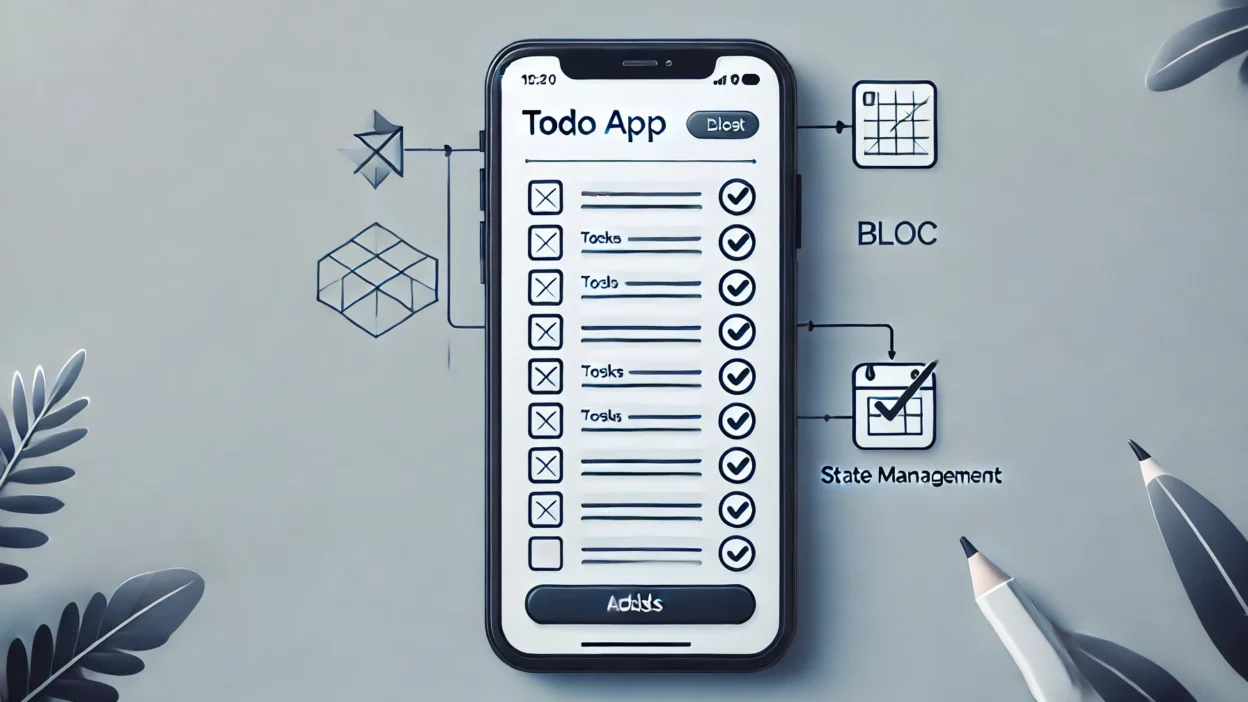
Flutter’s popularity has soared for cross-platform development, with developers seeking efficient state management solutions. The BLoC (Business Logic Component) pattern stands out as one of the most robust approaches for managing application state. In this article, we’ll build a complete Todo application using the BLoC pattern in Flutter.
Understanding the BLoC Pattern
The BLoC pattern was introduced by Google engineers at the 2018 DartConf. It separates business logic from the UI, making code more maintainable, testable, and reusable across platforms.
Key principles of the BLoC pattern:
- Separation of concerns: UI components should only handle rendering, while business logic lives in BLoC classes
- Dependency on abstractions: Components should depend on abstractions, not concrete implementations
- Unidirectional data flow: Data flows in one direction, creating a predictable state management system
- Asynchronous operations: BLoC handles asynchronous operations elegantly
Getting Started with flutter_bloc
The flutter_bloc package offers a streamlined implementation of the BLoC pattern. Let’s set up our Todo project to demonstrate its use.
Project Setup
First, add the necessary dependencies to your pubspec.yaml:
dependencies:
  flutter:
    sdk: flutter
  flutter_bloc: ^8.1.3
  equatable: ^2.0.5
  http: ^1.1.0
Run flutter pub get to install these packages.
Todo App Architecture
Our Todo app will follow a clean architecture with:
- Data Layer: Models and Repository
- Domain Layer: BLoC, Events, and States
- Presentation Layer: Screens and Widgets
Let’s build our Todo app step by step:
Step 1: Define the Todo Model
Create lib/models/todo_model.dart:
import 'package:equatable/equatable.dart';

class Todo extends Equatable {
  final int id;
  final String title;
  final bool completed;

  const Todo({
    required this.id,
    required this.title,
    required this.completed,
  });

  factory Todo.fromJson(Map<String, dynamic> json) {
    return Todo(
      id: json['id'] as int,
      title: json['title'] as String,
      completed: json['completed'] as bool,
    );
  }

  Map<String, dynamic> toJson() {
    return {
      'id': id,
      'title': title,
      'completed': completed,
    };
  }

  Todo copyWith({
    int? id,
    String? title,
    bool? completed,
  }) {
    return Todo(
      id: id ?? this.id,
      title: title ?? this.title,
      completed: completed ?? this.completed,
    );
  }

  @override
  List<Object> get props => [id, title, completed];
}
Step 2: Create the Todo Repository
Create lib/repositories/todo_repository.dart:
import 'dart:convert';
import 'package:http/http.dart' as http;
import '../models/todo_model.dart';

class TodoRepository {
  final http.Client httpClient;
  final String baseUrl = 'https://jsonplaceholder.typicode.com';

  TodoRepository({http.Client? httpClient})
      : httpClient = httpClient ?? http.Client();

  Future<List<Todo>> fetchTodos() async {
    final response = await httpClient.get(Uri.parse('$baseUrl/todos'));

    if (response.statusCode == 200) {
      final List<dynamic> todosJson = json.decode(response.body);
      return todosJson.map((json) => Todo.fromJson(json)).take(20).toList();
    } else {
      throw Exception('Failed to fetch todos');
    }
  }

  Future<Todo> createTodo(String title) async {
    final response = await httpClient.post(
      Uri.parse('$baseUrl/todos'),
      headers: {'Content-Type': 'application/json'},
      body: json.encode({
        'title': title,
        'completed': false,
      }),
    );

    if (response.statusCode == 201) {
      return Todo.fromJson(json.decode(response.body));
    } else {
      throw Exception('Failed to create todo');
    }
  }

  Future<void> deleteTodo(int id) async {
    final response = await httpClient.delete(
      Uri.parse('$baseUrl/todos/$id'),
    );

    if (response.statusCode != 200) {
      throw Exception('Failed to delete todo');
    }
  }

  Future<void> updateTodo(Todo todo) async {
    final response = await httpClient.put(
      Uri.parse('$baseUrl/todos/${todo.id}'),
      headers: {'Content-Type': 'application/json'},
      body: json.encode(todo.toJson()),
    );

    if (response.statusCode != 200) {
      throw Exception('Failed to update todo');
    }
  }
}
Step 3: Define BLoC Events
Create lib/bloc/todo_event.dart:
import 'package:equatable/equatable.dart';
import '../models/todo_model.dart';

abstract class TodoEvent extends Equatable {
  const TodoEvent();

  @override
  List<Object> get props => [];
}

class LoadTodos extends TodoEvent {}

class AddTodo extends TodoEvent {
  final String title;

  const AddTodo(this.title);

  @override
  List<Object> get props => [title];
}

class UpdateTodo extends TodoEvent {
  final Todo todo;

  const UpdateTodo(this.todo);

  @override
  List<Object> get props => [todo];
}

class DeleteTodo extends TodoEvent {
  final int id;

  const DeleteTodo(this.id);

  @override
  List<Object> get props => [id];
}

class ToggleTodo extends TodoEvent {
  final int id;

  const ToggleTodo(this.id);

  @override
  List<Object> get props => [id];
}
Step 4: Define BLoC States
Create lib/bloc/todo_state.dart:
import 'package:equatable/equatable.dart';
import '../models/todo_model.dart';

enum TodoStatus { initial, loading, success, failure }

class TodoState extends Equatable {
  final TodoStatus status;
  final List<Todo> todos;
  final String errorMessage;

  const TodoState({
    this.status = TodoStatus.initial,
    this.todos = const [],
    this.errorMessage = '',
  });

  TodoState copyWith({
    TodoStatus? status,
    List<Todo>? todos,
    String? errorMessage,
  }) {
    return TodoState(
      status: status ?? this.status,
      todos: todos ?? this.todos,
      errorMessage: errorMessage ?? this.errorMessage,
    );
  }

  @override
  List<Object> get props => [status, todos, errorMessage];
}
Step 5: Implement the Todo BLoC
Create lib/bloc/todo_bloc.dart:
import 'package:flutter_bloc/flutter_bloc.dart';
import '../models/todo_model.dart';
import '../repositories/todo_repository.dart';
import 'todo_event.dart';
import 'todo_state.dart';

class TodoBloc extends Bloc<TodoEvent, TodoState> {
  final TodoRepository repository;

  TodoBloc({required this.repository}) : super(const TodoState()) {
    on<LoadTodos>(_onLoadTodos);
    on<AddTodo>(_onAddTodo);
    on<UpdateTodo>(_onUpdateTodo);
    on<DeleteTodo>(_onDeleteTodo);
    on<ToggleTodo>(_onToggleTodo);
  }

  Future<void> _onLoadTodos(
    LoadTodos event,
    Emitter<TodoState> emit,
  ) async {
    emit(state.copyWith(status: TodoStatus.loading));

    try {
      final todos = await repository.fetchTodos();
      emit(state.copyWith(
        status: TodoStatus.success,
        todos: todos,
      ));
    } catch (e) {
      emit(state.copyWith(
        status: TodoStatus.failure,
        errorMessage: e.toString(),
      ));
    }
  }

  Future<void> _onAddTodo(
    AddTodo event,
    Emitter<TodoState> emit,
  ) async {
    try {
      final todo = await repository.createTodo(event.title);

      final updatedTodos = List<Todo>.from(state.todos)..add(todo);

      emit(state.copyWith(
        todos: updatedTodos,
      ));
    } catch (e) {
      emit(state.copyWith(
        status: TodoStatus.failure,
        errorMessage: e.toString(),
      ));
    }
  }

  Future<void> _onUpdateTodo(
    UpdateTodo event,
    Emitter<TodoState> emit,
  ) async {
    try {
      await repository.updateTodo(event.todo);

      final updatedTodos = state.todos.map((todo) {
        return todo.id == event.todo.id ? event.todo : todo;
      }).toList();

      emit(state.copyWith(todos: updatedTodos));
    } catch (e) {
      emit(state.copyWith(
        status: TodoStatus.failure,
        errorMessage: e.toString(),
      ));
    }
  }

  Future<void> _onDeleteTodo(
    DeleteTodo event,
    Emitter<TodoState> emit,
  ) async {
    try {
      await repository.deleteTodo(event.id);

      final updatedTodos = state.todos.where((todo) => todo.id != event.id).toList();

      emit(state.copyWith(todos: updatedTodos));
    } catch (e) {
      emit(state.copyWith(
        status: TodoStatus.failure,
        errorMessage: e.toString(),
      ));
    }
  }

  Future<void> _onToggleTodo(
    ToggleTodo event,
    Emitter<TodoState> emit,
  ) async {
    try {
      final todo = state.todos.firstWhere((todo) => todo.id == event.id);
      final updatedTodo = todo.copyWith(completed: !todo.completed);

      await repository.updateTodo(updatedTodo);

      final updatedTodos = state.todos.map((t) {
        return t.id == event.id ? updatedTodo : t;
      }).toList();

      emit(state.copyWith(todos: updatedTodos));
    } catch (e) {
      emit(state.copyWith(
        status: TodoStatus.failure,
        errorMessage: e.toString(),
      ));
    }
  }
}
Step 6: Create the UI Components
Create the Todo List Screen
Create lib/screens/todo_list_screen.dart:
import 'package:flutter/material.dart';
import 'package:flutter_bloc/flutter_bloc.dart';
import '../bloc/todo_bloc.dart';
import '../bloc/todo_event.dart';
import '../bloc/todo_state.dart';
import '../models/todo_model.dart';

class TodoListScreen extends StatelessWidget {
  const TodoListScreen({Key? key}) : super(key: key);

  @override
  Widget build(BuildContext context) {
    return Scaffold(
      appBar: AppBar(
        title: const Text('Todo List'),
      ),
      body: BlocConsumer<TodoBloc, TodoState>(
        listener: (context, state) {
          if (state.status == TodoStatus.failure) {
            ScaffoldMessenger.of(context).showSnackBar(
              SnackBar(content: Text(state.errorMessage)),
            );
          }
        },
        builder: (context, state) {
          if (state.status == TodoStatus.loading) {
            return const Center(child: CircularProgressIndicator());
          }

          if (state.todos.isEmpty) {
            return const Center(child: Text('No todos found'));
          }

          return ListView.builder(
            itemCount: state.todos.length,
            itemBuilder: (context, index) {
              final todo = state.todos[index];
              return TodoListItem(todo: todo);
            },
          );
        },
      ),
      floatingActionButton: FloatingActionButton(
        onPressed: () => _showAddTodoDialog(context),
        child: const Icon(Icons.add),
      ),
    );
  }

  void _showAddTodoDialog(BuildContext context) {
    final TextEditingController controller = TextEditingController();

    showDialog(
      context: context,
      builder: (context) {
        return AlertDialog(
          title: const Text('Add Todo'),
          content: TextField(
            controller: controller,
            decoration: const InputDecoration(
              labelText: 'Todo Title',
            ),
            autofocus: true,
          ),
          actions: [
            TextButton(
              onPressed: () => Navigator.pop(context),
              child: const Text('Cancel'),
            ),
            TextButton(
              onPressed: () {
                if (controller.text.isNotEmpty) {
                  context.read<TodoBloc>().add(AddTodo(controller.text));
                  Navigator.pop(context);
                }
              },
              child: const Text('Add'),
            ),
          ],
        );
      },
    );
  }
}

class TodoListItem extends StatelessWidget {
  final Todo todo;

  const TodoListItem({
    Key? key,
    required this.todo,
  }) : super(key: key);

  @override
  Widget build(BuildContext context) {
    return Dismissible(
      key: Key('todoItem_${todo.id}'),
      background: Container(
        color: Colors.red,
        alignment: Alignment.centerRight,
        padding: const EdgeInsets.only(right: 20.0),
        child: const Icon(
          Icons.delete,
          color: Colors.white,
        ),
      ),
      direction: DismissDirection.endToStart,
      onDismissed: (direction) {
        context.read<TodoBloc>().add(DeleteTodo(todo.id));
        ScaffoldMessenger.of(context).showSnackBar(
          SnackBar(content: Text('Todo "${todo.title}" deleted')),
        );
      },
      child: ListTile(
        leading: Checkbox(
          value: todo.completed,
          onChanged: (_) {
            context.read<TodoBloc>().add(ToggleTodo(todo.id));
          },
        ),
        title: Text(
          todo.title,
          style: TextStyle(
            decoration: todo.completed ? TextDecoration.lineThrough : null,
          ),
        ),
        onTap: () {
          context.read<TodoBloc>().add(ToggleTodo(todo.id));
        },
      ),
    );
  }
}
Step 7: Set Up the Main App
Create lib/main.dart:
import 'package:flutter/material.dart';
import 'package:flutter_bloc/flutter_bloc.dart';
import 'bloc/todo_bloc.dart';
import 'bloc/todo_event.dart';
import 'repositories/todo_repository.dart';
import 'screens/todo_list_screen.dart';

void main() {
  runApp(const MyApp());
}

class MyApp extends StatelessWidget {
  const MyApp({Key? key}) : super(key: key);

  @override
  Widget build(BuildContext context) {
    return MaterialApp(
      title: 'Flutter Todo BLoC',
      theme: ThemeData(
        primarySwatch: Colors.blue,
        useMaterial3: true,
      ),
      home: RepositoryProvider(
        create: (context) => TodoRepository(),
        child: BlocProvider(
          create: (context) => TodoBloc(
            repository: context.read<TodoRepository>(),
          )..add(LoadTodos()),
          child: const TodoListScreen(),
        ),
      ),
    );
  }
}
Step 8: Add BLoC Observer for Debugging (Optional)
Create lib/bloc/simple_bloc_observer.dart:
import 'package:flutter_bloc/flutter_bloc.dart';

class SimpleBlocObserver extends BlocObserver {
  @override
  void onEvent(Bloc bloc, Object? event) {
    super.onEvent(bloc, event);
    print('${bloc.runtimeType} $event');
  }

  @override
  void onTransition(Bloc bloc, Transition transition) {
    super.onTransition(bloc, transition);
    print('${bloc.runtimeType} $transition');
  }

  @override
  void onError(BlocBase bloc, Object error, StackTrace stackTrace) {
    print('${bloc.runtimeType} $error $stackTrace');
    super.onError(bloc, error, stackTrace);
  }
}
Update main.dart to use the observer:
import 'package:flutter/material.dart';
import 'package:flutter_bloc/flutter_bloc.dart';
import 'bloc/todo_bloc.dart';
import 'bloc/todo_event.dart';
import 'bloc/simple_bloc_observer.dart';
import 'repositories/todo_repository.dart';
import 'screens/todo_list_screen.dart';

void main() {
  Bloc.observer = SimpleBlocObserver();
  runApp(const MyApp());
}

// Rest of the code remains the same
Key Benefits of Using BLoC in the Todo App
- Separation of Concerns: The UI is completely separated from business logic
- Testability: Each component can be tested in isolation
- Maintainability: Code is organized and easy to maintain
- Reusability: BLoCs can be reused across different UI components
- Predictable State Management: Unidirectional data flow ensures predictable state changes
Best Practices for Flutter BLoC Architecture
- Keep BLoCs focused: Each BLoC should handle a specific feature or domain
- Use Equatable for performance: Implement Equatable for efficient state comparison
- Organize code by feature: Structure code by feature rather than by type
- Error handling: Always handle errors gracefully in the BLoC
- Smart repositories, dumb BLoCs: Business logic should be in the BLoC, data access in repositories
- Test your BLoCs: Write tests for your BLoCs to ensure they work as expected
Conclusion
In this tutorial, we built a complete Todo application using the BLoC pattern in Flutter. The BLoC pattern provides a robust solution for state management in Flutter applications, making your code more maintainable, testable, and scalable.
By separating the presentation layer from the business logic, we’ve created a clean architecture that can be easily extended with new features. The flutter_bloc package makes implementing the BLoC pattern straightforward, providing a set of widgets and utilities that simplify the process.
As your application grows in complexity, the BLoC pattern will continue to provide structure and organization, making it easier to add new features and maintain existing code.


